#
Using Guides
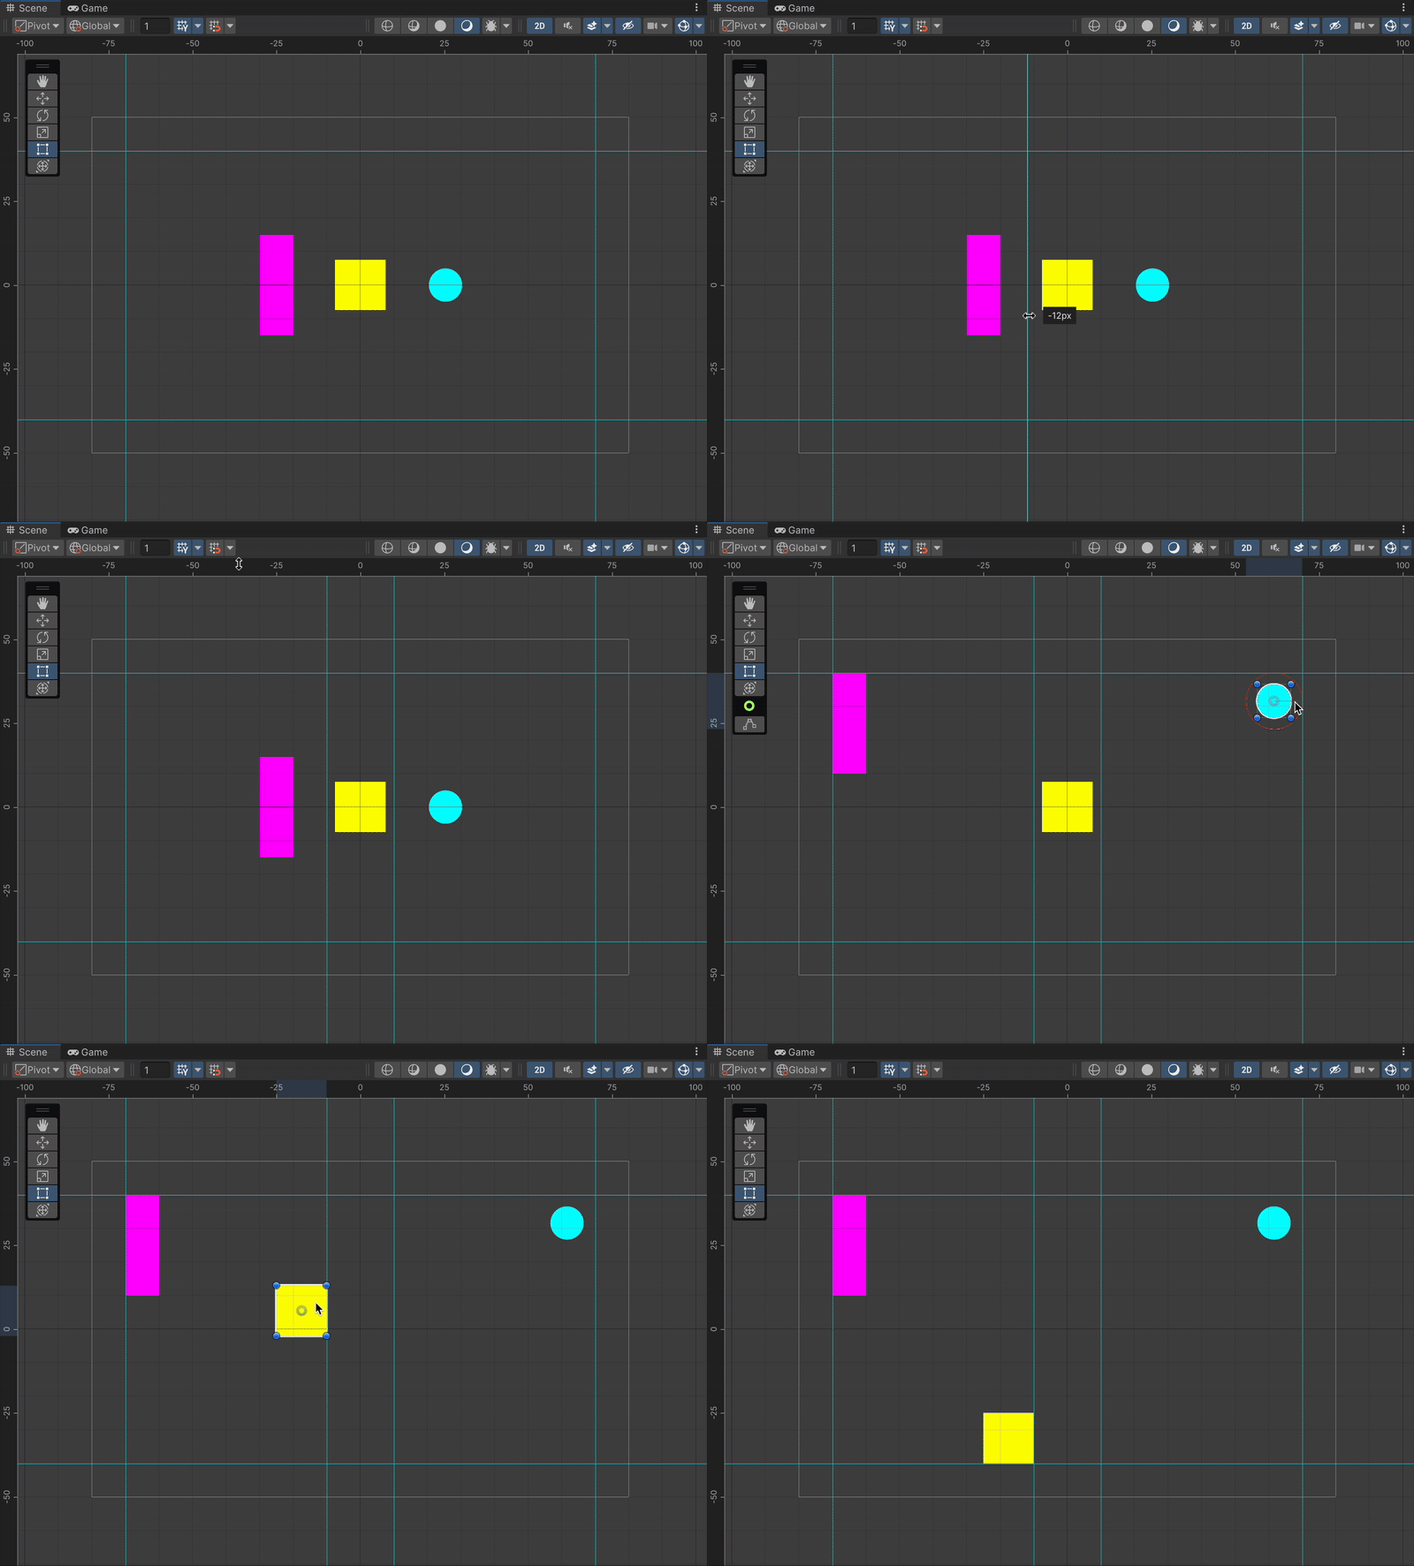
Guides are horizontal and vertical reference lines that help you precisely position and align objects in your scene. They provide a structured framework for your layout and persist across different scenes in your project. When moving objects in the Scene View, their bounds will automatically snap to nearby guides for perfect alignment.
#
Adding, Editing and Removing Guides
You can manage guides directly in the Scene View using the on-screen rulers.
- Add: To create a guide, click and drag from either the horizontal or vertical ruler into the scene.
- Reposition: Drag any existing guide in the scene to a new position.
- Remove: Drag a guide back onto the ruler it came from to delete it.
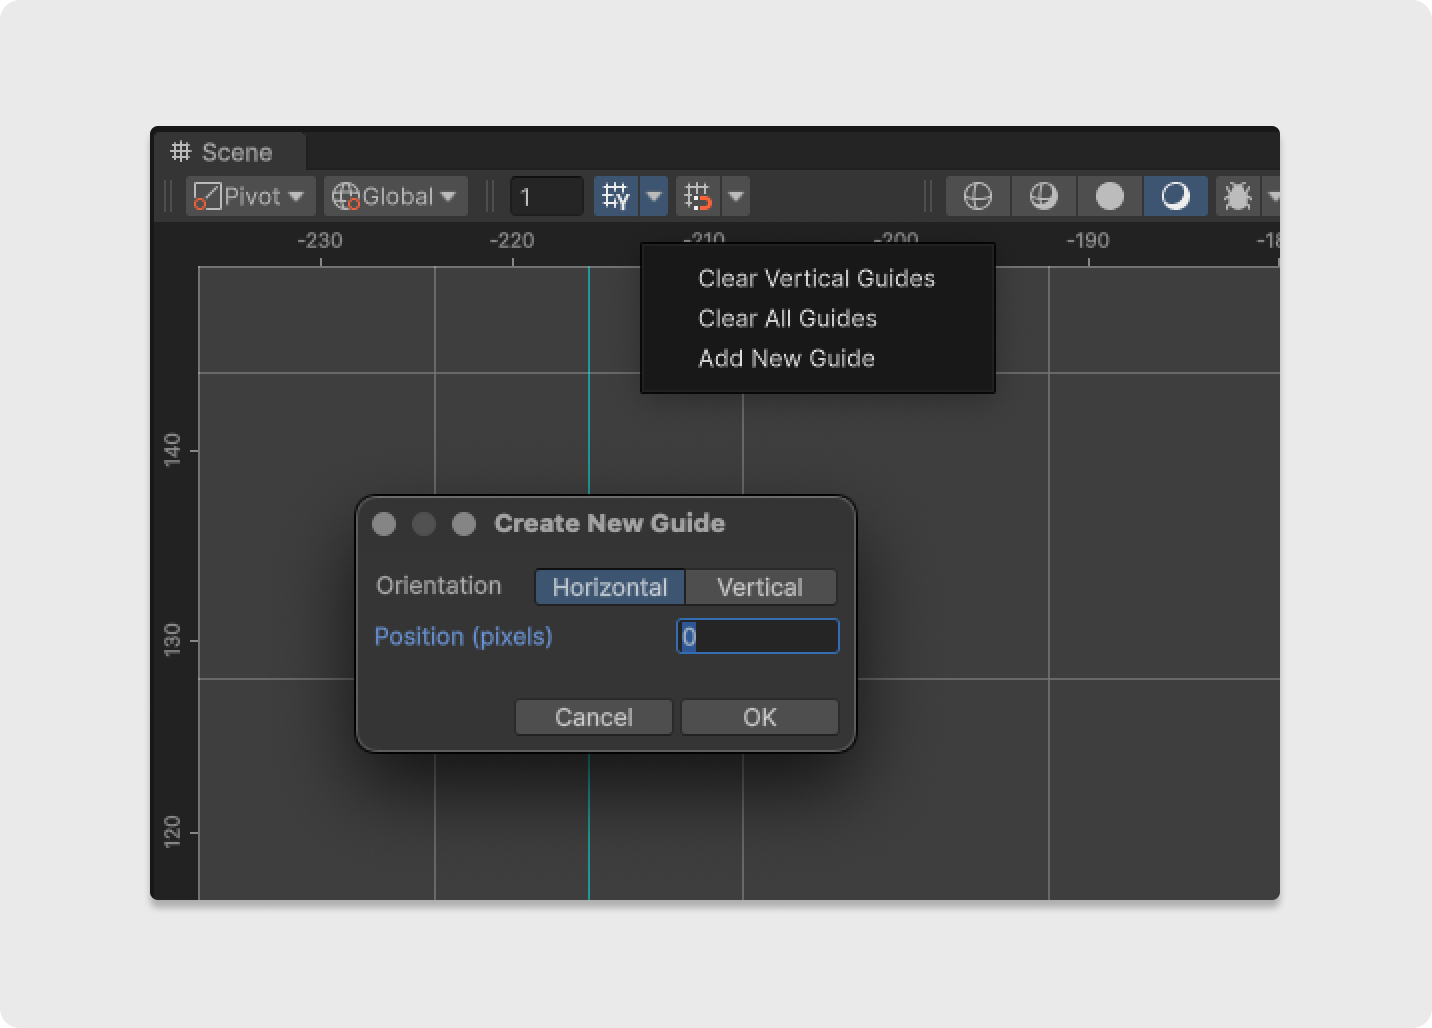
For more precise control, you can double-click or right-click on any guide or ruler. This opens a menu where you can add, edit, or remove guides using exact position values in either world units or pixels, depending on your current unit selection. Bulk removal options (Remove All Guides, etc.) are available in the ruler's right-click menu.
#
Guide Settings
You can configure guide behavior in the Preferences section.
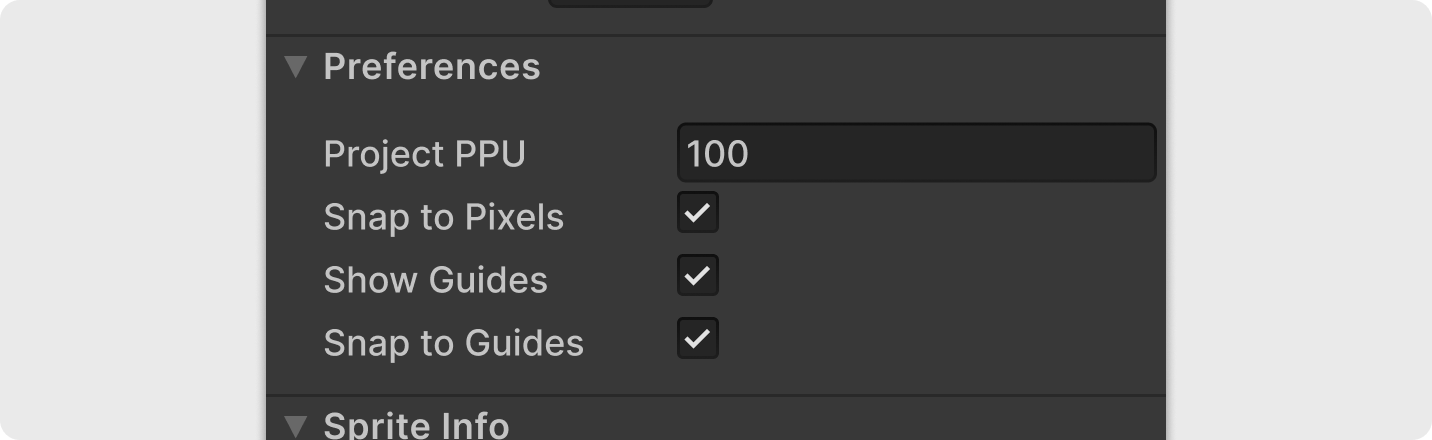
- Show Guides: Toggles the visibility of all guides in the scene.
- Snap to Guides: Enables or disables object snapping for all visible guides.
- Snap to Pixels: If the main Snap to Pixel preference is enabled, newly created or dragged guides will also snap to the pixel grid (more in Working with Pixels).
Advanced Tip!
Guide data is saved as a ScriptableObject asset in your project at Assets/tools.bnop.transform2d/Guides, which allows you to copy sets between projects.